(scroll up for animation)
Before the process could begin, however, it was necessary to significantly modify the blow-out preventer (BOP) that sits on the top of the well. For those interested (its a bit like watching one of the operations on the space station) BP has assembled a short (5 minute) selection of the
video footage of the various steps. When watching it, you should bear in mind that the ROV’s carrying out the different steps have to operate in a relatively crowded environment.
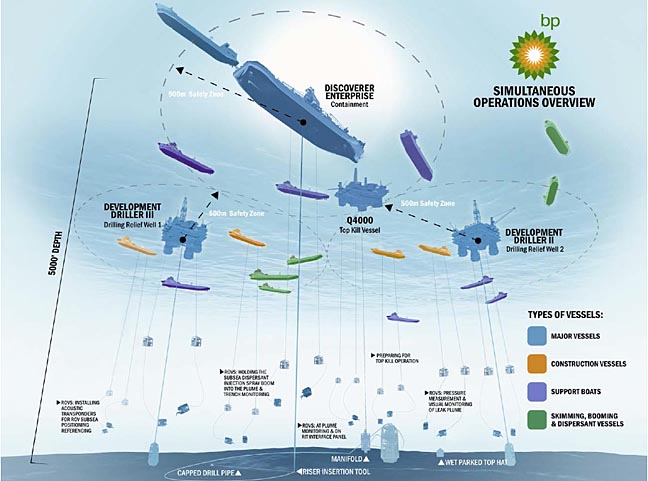
 The well neighborhood
The tasks to be done included removing, modifying and replacing the control box (or pod) that operates the valves that open and close the flow lines into the choke and kill lines on the well. Other than this, the flow lines to the flow and choke lines themselves had to be replaced with the feed lines (shown in the animation) that will carry the mud into the well. Even tightening a fitting that had worked loose takes time, when it has to be done using an ROV (with the operator at the surface needing to see what he is doing while getting the ROV to hold the necessary wrench and turn the fitting). The old feed lines then had to be cut from the BOP, and replaced.
 ROV image showing the control pod fitting being tightened
This involved
* cutting off the choke and kill line connectors
* Cutting the bolts on a flange
* Removing the clamp
* Removing the pipe flange end
* Buffing and cleaning the pipe end
* Preparing to attach the new jumper lines. (This had to be done for each feed line)
* A special hydraulic connector attached to the 150-ft jumper cables was used to latch onto the old inlets. This is slow work (as the video shows) and as a result this part of the work has taken seven days. (The jumper shown in the video was attached on the 16th and chained down into position on the 17th.)
No comments:
Post a Comment